

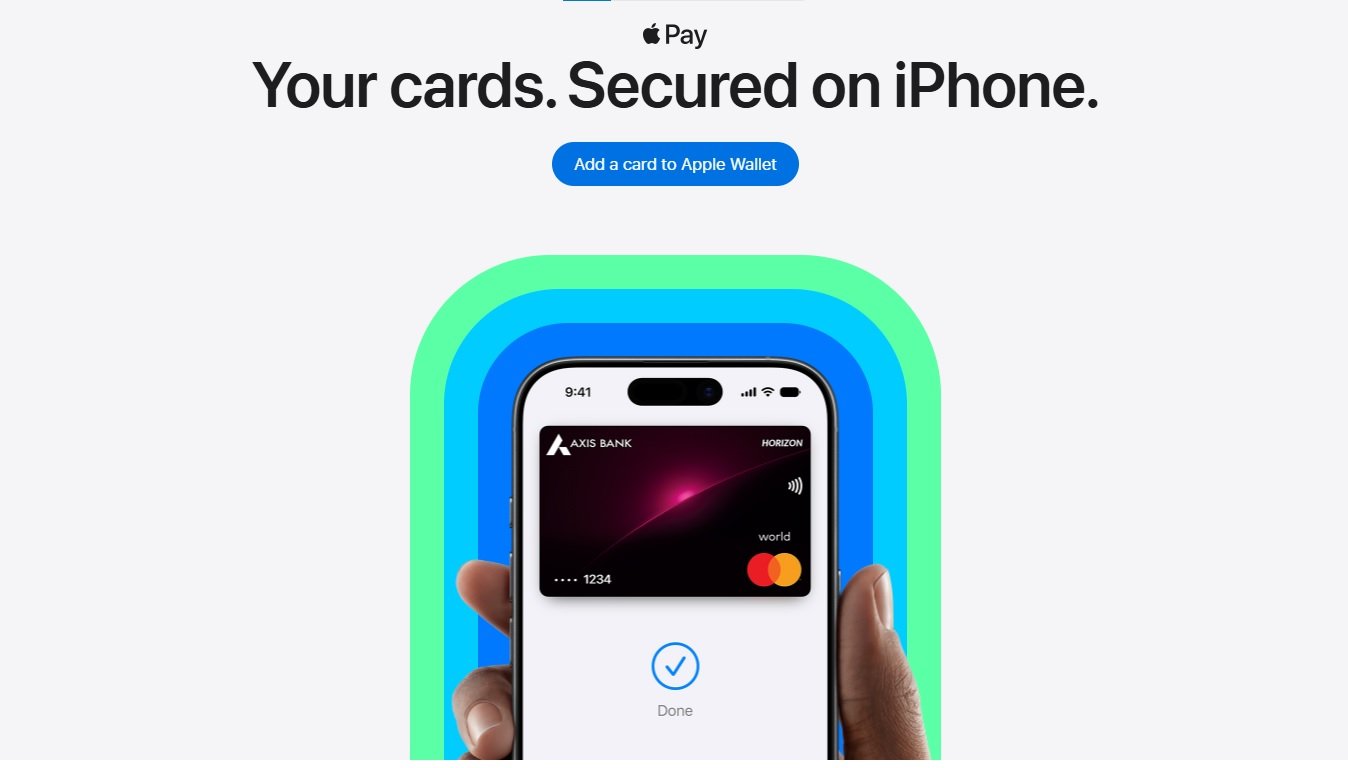
Apple Pay is now available in India on supported Apple devices, allowing eligible users to add supported credit or debit cards to the Apple Wallet app and use them for contactless payments, as well as supported purchases in apps and on websites.
However, Apple Pay availability depends on the card issuer and payment card. Having an iPhone that supports Apple Pay does not automatically mean that every Indian bank card can be added to Wallet.
If you have an eligible card, setting up Apple Pay on an iPhone is straightforward.
What You Need Before Setting Up Apple Pay
Before adding your card, make sure your iPhone is updated to a supported version of iOS and that you have an eligible credit or debit card from a participating issuer.
You should also have your card issuer’s registered mobile number and any authentication method required by the bank available. During setup, Apple or your card issuer may ask you to verify your identity through an SMS, security questions or the bank’s app.
You will also need Face ID, Touch ID or a device passcode configured on the iPhone. Face ID and the passcode are used to authorise Apple Pay transactions on supported iPhone models.
How to Add a Card to Apple Pay on iPhone
Step 1: Open the Wallet app
Open the Wallet app on your iPhone.
Tap the “+” button or the Add Card option to begin adding a payment card. Apple may ask you to sign in with your Apple Account if you are not already signed in.
Step 2: Select Debit or Credit Card
Choose the option for a debit or credit card.
You can then use your iPhone camera to scan the card details, if supported, or enter the card information manually.
Apple also supports adding cards through participating bank apps and other supported provisioning methods.
Step 3: Enter or Confirm Your Card Details
If you scan the card, check that the card number, name and expiry information have been captured correctly.
If necessary, enter the details manually and follow the instructions displayed on the iPhone.
The information then needs to be verified by the card issuer before the card can be activated for Apple Pay.
Step 4: Complete Bank Verification
This is an important part of the setup process.
Your bank or card issuer may ask you to verify the card using an SMS, security questions or the issuer’s app. The exact verification method can vary between participating issuers.
Complete the verification process shown on the screen. Once the issuer approves the request, the card will be added to Apple Wallet.
If the bank asks you to complete verification inside its app, open the app and follow the instructions before returning to Wallet.
Step 5: Choose Your Default Card
Once your card has been added, it can be used as the default payment card.
You can also add multiple eligible cards to Wallet and choose which one you want to use for a particular transaction.
To change the default card, Apple provides the option to arrange cards in Wallet, with the card at the front of the stack becoming the default payment card.
How to Pay With Apple Pay in Stores
Once your card is set up, you can use Apple Pay at compatible contactless payment terminals.
On an iPhone with Face ID, double-click the side button. Your default card will appear on the screen.
Authenticate with Face ID or your passcode and then hold the top of the iPhone near the contactless payment terminal. Wait for the confirmation or checkmark to appear.
If you want to use another card, tap the cards shown at the bottom of the payment screen and select the card you want to use before authenticating.
The merchant must support contactless payments and the relevant card network for the transaction to work.
How to Use Apple Pay Inside Apps and Websites
Apple Pay can also be used for supported purchases inside apps and on websites that display the Apple Pay button.
At checkout, tap the Apple Pay button, review the payment information and select the card you want to use.
Authenticate the transaction with Face ID, Touch ID or your iPhone passcode to complete the payment.
This can be useful when you do not want to manually enter your card number, expiry date and other payment details every time you make an online purchase.
How to Add Apple Pay to Apple Watch
If you have a compatible Apple Watch paired with your iPhone, Apple provides an option to add an eligible card to the Watch during the setup process.
You can also open the Apple Watch app on your iPhone, go to Wallet & Apple Pay and select Add Card.
The card may need to go through issuer verification again before it can be used on the Apple Watch.
What If Your Card Cannot Be Added?
If your card cannot be added to Apple Wallet, check whether the specific card and issuer support Apple Pay.
Apple states that only eligible and supported cards can be added to Wallet, and participating banks and cards can vary by country or region.
You should also make sure that:
- Your iPhone is running a supported version of iOS.
- You have set up Face ID, Touch ID or a passcode.
- Your card details are correct.
- Your bank has your current mobile number and contact information.
- You have completed the verification requested by the card issuer.
- The particular card, rather than simply the bank, is eligible for Apple Pay.
If the card is still rejected, Apple recommends contacting the bank or card issuer because the issuer determines whether a particular card can be used with Apple Pay.
Is Apple Pay the Same as UPI on iPhone?
No. Apple Pay and UPI are different payment systems.
Apple Pay adds an eligible debit or credit card to Apple Wallet and uses that card for supported transactions. It does not turn an existing UPI account into an Apple Pay card.
This distinction is particularly important for Indian users because Apple’s other payment options in India, such as UPI, remain separate from Apple Pay. Apple’s India payment information lists UPI, net banking and credit/debit cards as payment methods for Apple services.
Is Apple Pay Safe to Use?
Apple says that when you pay with Apple Pay, your actual card number is not shared with merchants. Transactions use a device-specific account number and a unique security code instead of sending the physical card number to the merchant.
Payments also require authentication using Face ID, Touch ID or the device passcode, depending on the iPhone model and transaction.
This means users can make contactless payments without physically handing over their card or entering the card number at supported checkout points.
Apple Pay Setup in India: What to Remember
Setting up Apple Pay on an iPhone mainly involves adding an eligible card through the Wallet app and completing the verification process required by the card issuer.
Once activated, the card can be used at compatible contactless terminals and at supported online and in-app checkouts. The most important limitation for Indian users is card availability: Apple Pay support is determined by the participating issuer and the specific card, so not every Indian debit or credit card will necessarily work.
If your eligible card is supported, the entire setup process can be completed directly from the iPhone’s Wallet app.
